Sun-dried fruits and vegetables are one of the best and most reliable forms of preserved food. That’s why equipping yourself to quickly and safely dry garden produce and fruit is one of the smartest ways you can increase your self-reliance. It’s fun, too. And while there’s no shortage of plans and ready-made solar food dryers out there, most don’t work well. Lack of capacity, the need for an electric fan, and unnecessary building complications are the reasons why.
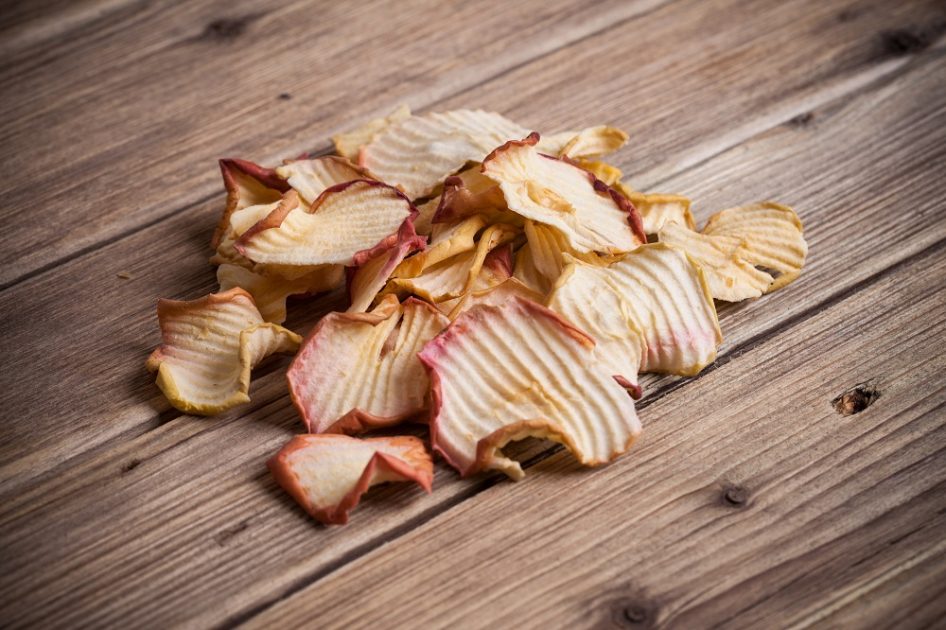
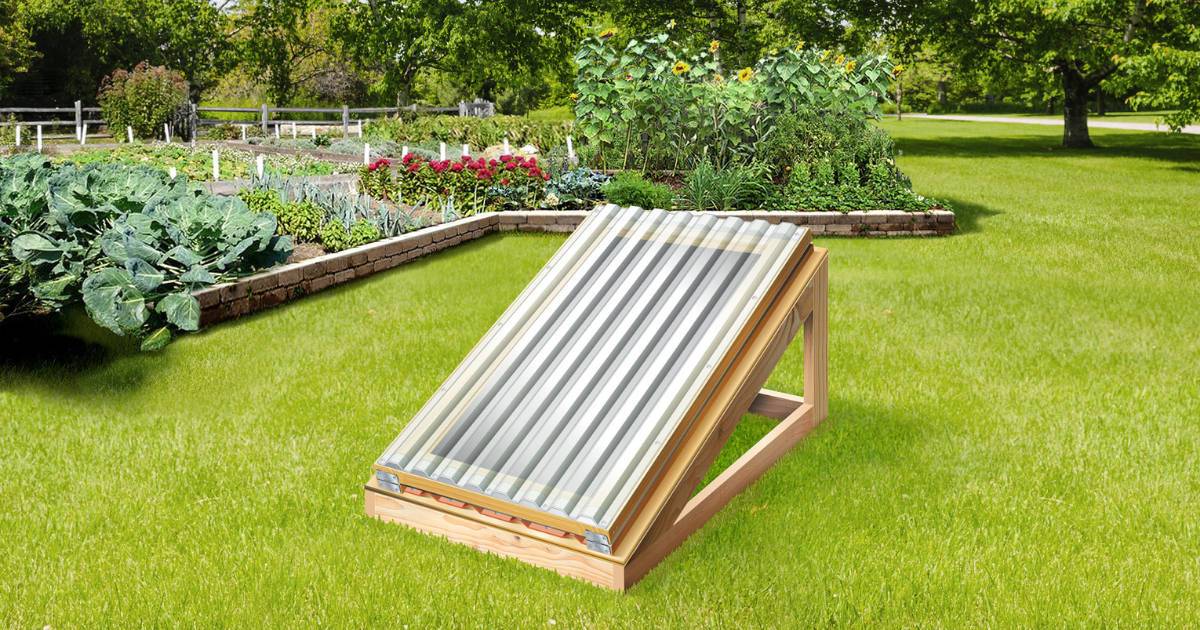
The design here is different. It has what it takes to produce a lot of dried food using only the sun, and it can perform well even in high-humidity climates. Superior solar-collection abilities and free-flowing ventilation underneath the food are key features. My design also happens to be easier and less expensive to build than the more common, less-effective box-type solar dryers.
As with any building project, feel free to improvise: Scrounge materials, modify the design to suit your tools, or adjust the size of the solar dryer, depending on your needs. One thing you must not change is the way solar energy is collected and converted to infrared heat by the top frame of the dryer—one of the key features of this design, it’s essential. Don’t mess with the basic concept.

The collector directs energy down toward the food lying on the drying screens below. One of the ideal surfaces for the radiation of heat is nothing more than a lot of rust. Yes, that’s right. Just plain old rusty steel emits heat very well in the infrared wavelengths. That’s why choosing non-galvanized sheet steel is the best option for your collector plate. If you’ve got to go with galvanized, you’ll need to coat the bottom of the collector plate with the same flat black high-temperature paint used on top, since a galvanized surface doesn’t emit heat very well. Flat black paint emits well, just be sure to let the paint cure for a couple of weeks before use, to avoid food contamination from off-gassing solvents. Besides providing more even and intense heat, the use of a metal collection plate shades food from the sun, preserving more of the vitamin content. If at all possible, use non-galvanized steel with a rusted lower surface. It’s better than paint.
Step 1: Build the Collection Frame
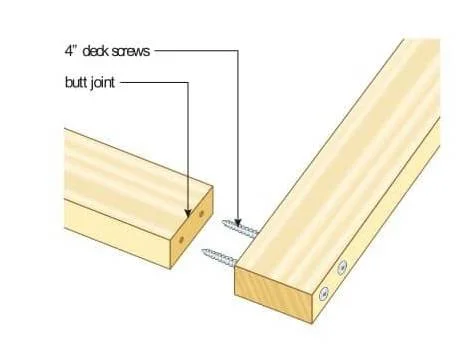
Build the wooden collection frame itself using 1 1/2-inch-thick construction lumber cut down to 2 1/2 inches wide. You’ll get much better quality strips if you saw these parts out of wide planks like 2x10s or 2x12s, rather than using narrower lumber sold as 2x3s. Big planks are made with big trees that have the least knots, and that’s what you want for all parts of this project. No need to get fancy with the corner joints of the collector frame, either. Simply cut the top, bottom and sides to the right length to match the glazing and sheet metal you’ll be using, pre-drill screw holes in the ends of the side pieces, then join all four collector frame parts with 4-inch-long deck screws. Pre-drill holes in the steel collection plate, then fasten it to the underside of the frame. Finish up by fastening the clear glazing material on top of the frame.

The plans show how corrugated support strips seal the area underneath the corrugated roofing at the top and bottom. These strips are sold to match the shape of the roofing you’re using, though strips aren’t always what you want. In exceptionally hot and sunny places, the solar food dryer can actually get hot enough to burn food drying on the racks below. If you find that this happens at your place, removing the support strips lowers the operating temperature of the dryer by boosting air circulation over the sheet metal.
Set the assembled collector frame aside for now and turn your attention to building the base frame next. The screen frames come later.
Step 2: Build the Base Frame
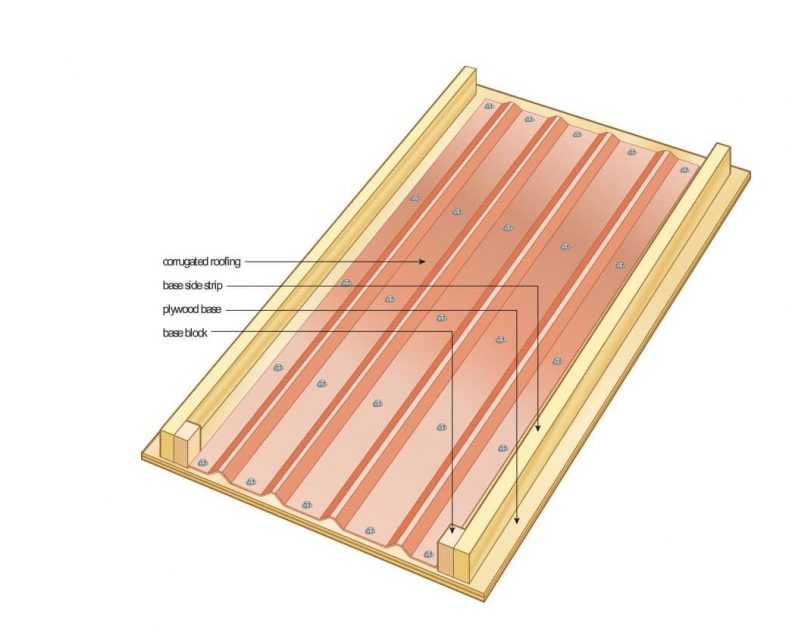
The plans here show how my solar dryer is supported on a half-inch-thick plywood base. You could use thinner or thicker sheet material here, depending on what you’ve got, but 1/2 inch is a good compromise between strength and weight. Don’t go thinner than 3/8 inch.
Cut and fasten two 1 1/2- x 3-inch base side strips to the top face of the plywood, so the side strips match the width of the completed collector frame you built before. Later on, fasten 2 1/2-inch-wide butt hinges to the bottom ends of these strips and the bottom edge of the collector frame. For now, fasten two base blocks to the plywood base, one tight to the edge of each base strip, as shown on the plans. These base blocks do two things: They provide full support for the hinges, and they prevent the screen frames from sliding down and out of the dryer.
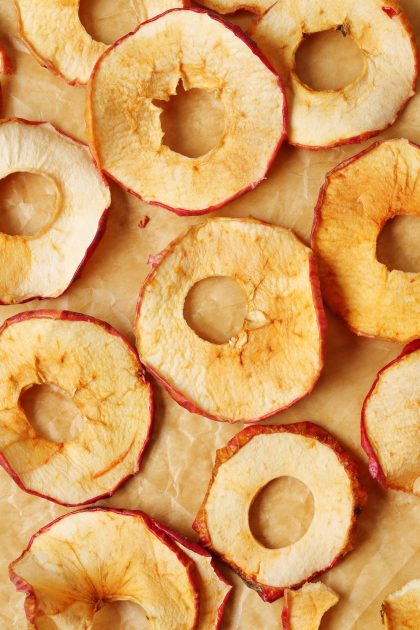
Make sure that the base side strips are parallel to each other, then scrounge some old metal roofing material for the space between the side strips. The colour of this roofing material doesn’t matter much. The only purpose of the metal is to create an open airspace underneath the screen frames that you’ll build later. All that matters now is that the roofing material has ribs that are 1/2 to 3/4 inches high. The spacing of the ribs isn’t critical. The purpose of these ribs is to raise the drying rack so air can flow underneath. That’s all.
With the base frame done, now it’s time to move on to build the drying frames.
Step 3: Build the Drying Frames
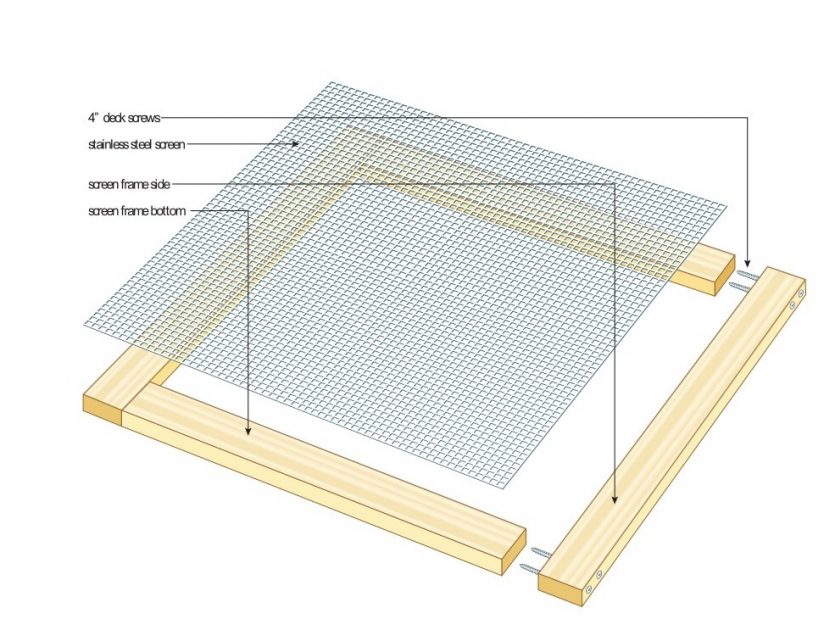
The heart of the drying frames are the screens, and people use several different materials for building their own solar food dryers. [TK checking: what does he recommend?] Window screen is one of the most common options because it’s cheap and you can buy it anywhere. The main problem is that it’s not exactly a food-grade material. Far from it. Fibreglass window screen is especially plentiful and cheap, but there’s no way any commercial food inspector would let it touch anything meant for human consumption. The main danger is the possibility of hormone-mimicking chemicals that may be present on synthetic materials like fibreglass. So, what about aluminum window screen? This is probably safer than fibreglass, but there still is the very real danger of aluminum leaching into foods that you dry. This is especially likely with acidic foods such as tomatoes. High aluminum levels have been identified in the brains of patients with Alzheimer’s disease, so there is certainly reason for concern.
Finish up by fastening the collector frame to the base frame with two 1- x 2 1/2-inch butt hinges and you’re ready to go. You could build the angled support frame shown in the plans to keep the dryer pointed toward the sun, or rig up anything else that makes sense at your place. Aim for an angle of 20 degrees from horizontal for your solar food dryer, then experiment with different angles for the best results during different seasons.
One Last Thing
The world around us doesn’t encourage preparation and self-reliance. That’s all the more reason to step up to the plate and create systems and plans to take over if our food, energy and social systems stop working. Maybe this will never happen, but it certainly could. It’s about protecting yourself and your family, but it’s also about equipping yourself to preserve wholesome food in a simple, energy-free way no matter what the state of the world is. And who knows? Having a stock of dried food on hand and the ability to dry more without access to power could end up being a lifesaver for friends and neighbours who might not have thought as far ahead as you. Sure, a solar food dryer is only part of this preparation, but it could be a pretty big part, and a fun part at that, too.
Steve Maxwell and his wife Mary live on a 90-acre modern homestead on Manitoulin Island, Ontario in a stone house they built with local materials beginning in 1985. Steve is Canada’s longest-running home improvement and how-to columnist and editor of Home and Property. He divides his time working on the land, building things large and small, and creating articles and how-to videos that teach sustainable, self-reliant, hands-on living skills.

