There are many ways to compost. In my experience, vermicomposting is one of the best ways to produce high-quality compost for gardens and flower beds. Plus, vermicomposting can be done indoors without dirtying or smelling up whatever room (kitchen, basement, garage) the worm bin is in!
What Is Vermicomposting?
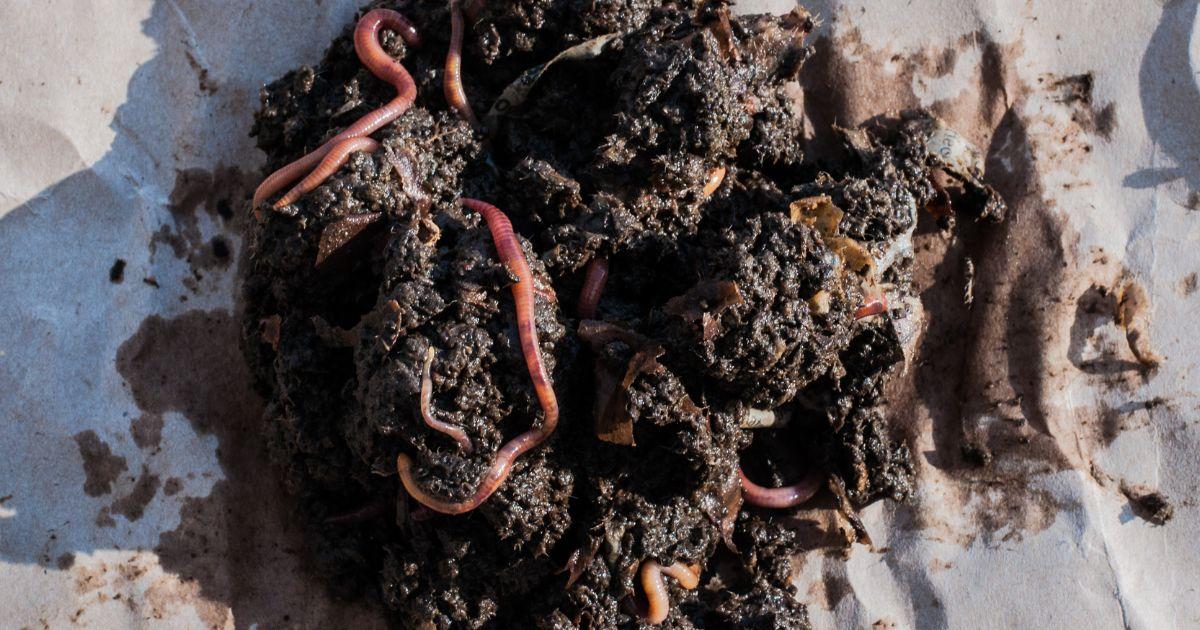
Vermi means “worm” in Latin, and “vermiculture” is the science of raising worms. Worms are little wiggly creatures that consume organic debris and dirt, and produce tiny, brown squiggly things we call “worm castings.”
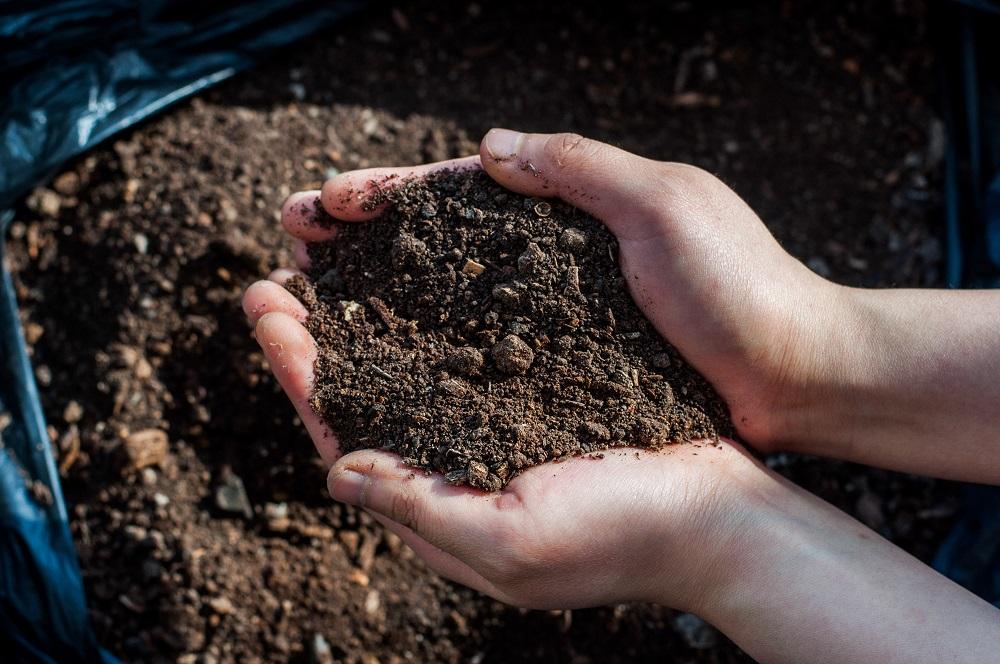
Vermicompost refers to the finished product of vermiculture — an amazing mix of worm castings, fresh humus and decaying organic matter. Worm castings help retain soil moisture; they also add nitrogen and microbes to the soil. Vermicomposting is simply harnessing the power of worms to turn organic debris into
nitrogen-rich compost.
Why Vermicompost?
I began vermicomposting in 2015, after I finished reading Worms Eat My Garbage by Mary Applenhof. What I learned about the power of worms and vermicompost revolutionized the way I thought about composting.
Here’s what I learned.
• Vermicompost is finer and denser than the finished compost produced by traditional composting methods. Organic waste and other bedding material in the worm bin goes through the worm and gets expelled as tiny
bits of concentrated compost.
• Vermicompost is more efficient than traditional composting. With vermicomposting, worms operate inside a contained system, allowing them to focus on turning organic material into rich compost, rather than travelling miles away to another garden.
• With traditional composting methods, the compost must be turned occasionally to avoid compaction and overheating; with vermicomposting, the worms dig tunnels through the compost, turning everything
evenly, efficiently and effectively.
• Vermicomposting, if done properly, is clean and odourfree, and can be done indoors.
• Vermicomposting highlights how we humans can live in a symbiotic relationship with even the most insignificant creepy-crawly: the worm!
How to Start Vermicomposting
First, get something to put the worms and bedding in. A plastic bin or box with a lid works well. Fancy bins made especially for vermicomposting are also available online. Some gardeners build a customized worm bin for their kitchens, with the lid doubling as a cutting board; this makes dropping vegetable cuttings into the bin pretty convenient. Other gardeners use a wooden or plastic bench as their worm bin — in their living room. Be creative!
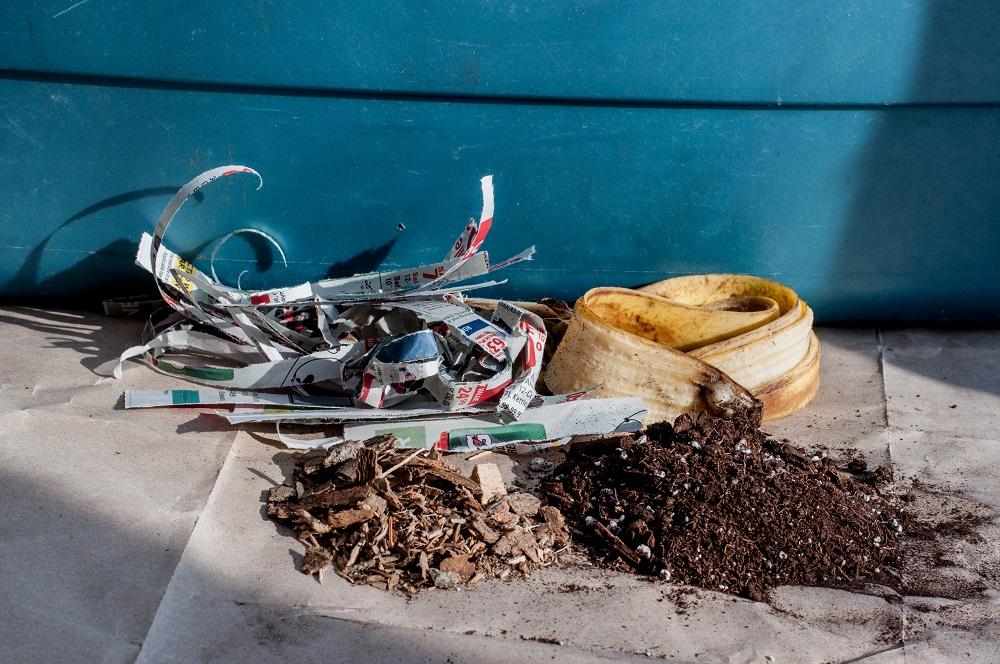
Remember to keep moisture, heat and ventilation in mind for the worms. I drilled holes into the
plastic box I use for my worm bin. Next, prepare the bedding. Shredded newspaper, cardboard, soil, and bits of peat moss and wood chips work well. If manure is desired, make sure to use aged manure, as fresh manure may add unhealthy amounts of moisture and ammonia to the bin. Also add a little water to the bedding, which should be moist but not quite wet.
Then, it’s time to get worms! I recommend getting red wigglers (Eisenia foetida or Eisenia andrei) from a local vermicomposter. Worms are also available online from various worm dealers and shops. Worms love consuming kitchen and garden waste such as vegetable and fruit trimmings.
Stay away from feeding citrus peels, meats, fats, garlic and onions to worms. Meat rots easily and would make raising worms unpleasant; worms cannot digest garlic and onions well. Keep the worms somewhere that is neither too hot nor too cold. A heated garage, workshop or basement works well. Keep an eye on the worm bin’s environment: The bedding should be moist, and there should be good air flow in the bin. If it’s too wet, add shredded paper or peat moss to the bin, and check the bin again after a few days. The vermicompost is ready to be harvested when everything in the bin (except the worms, of course) has turned into a nice, crumbly, dirt-like substance. The time for the bedding to turn into vermicompost depends on the choice of bedding, types and timing of worm feed, and the number of worms in the bin.
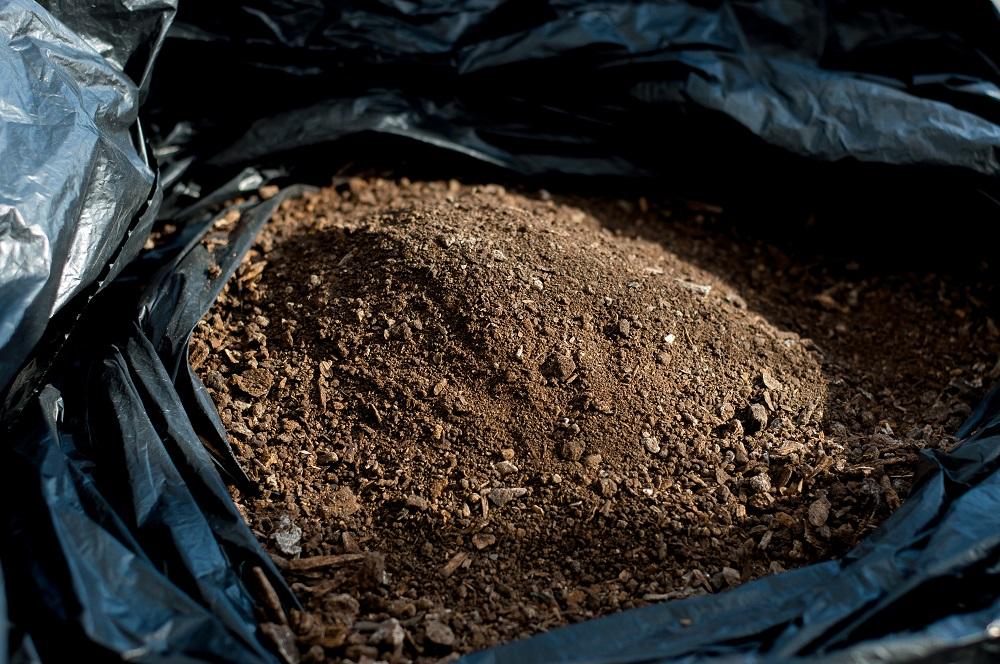
When harvesting the castings, there are several ways to separate the worms from the finished vermicompost. One method is to first push all the compost and worms to one side of the bin. Then, place new bedding and food on the other side. The worms should be attracted to the fresh bedding and food, and they will start crawling over to that side. After a couple of days, take the finished compost (sans worms) out of the bin.
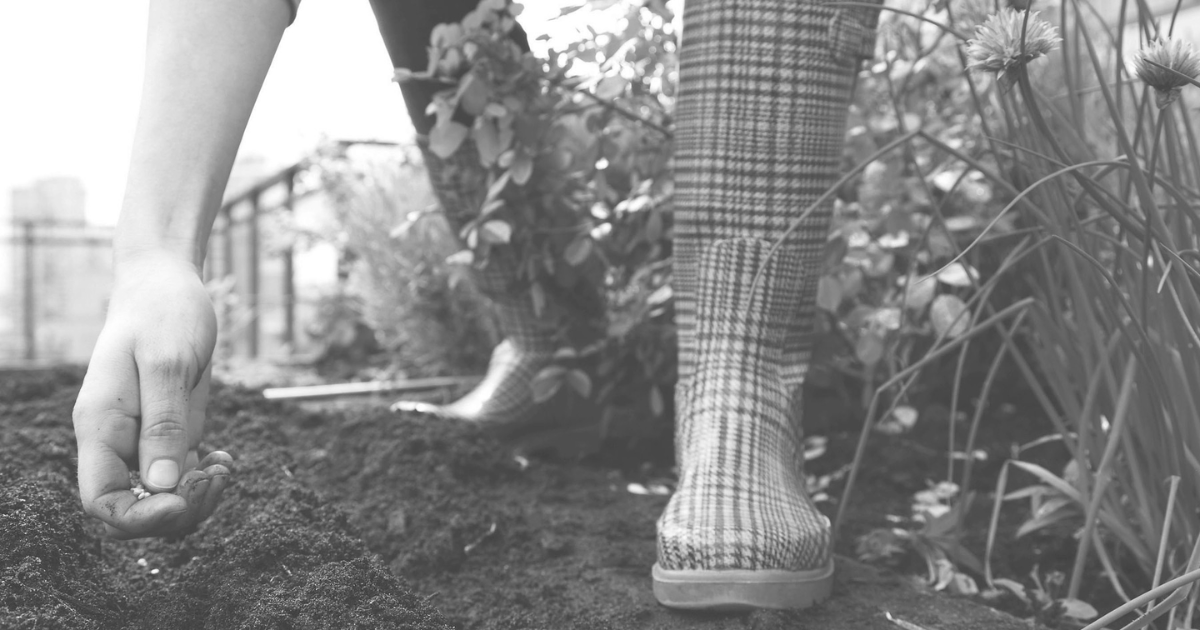
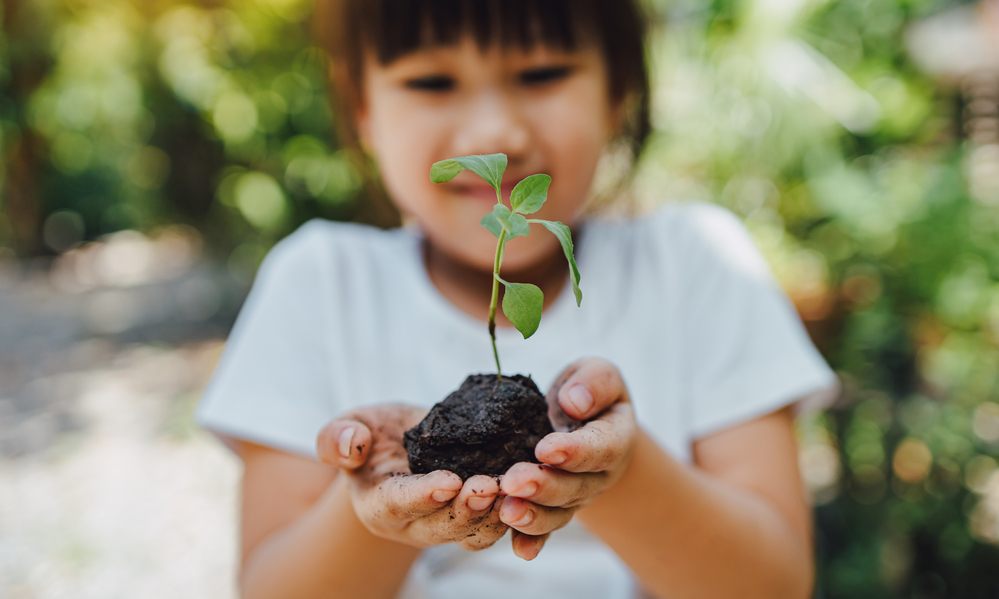
Vermicompost can be placed in holes dug for seeds and seedlings. Try top-dressing plants with vermicompost by placing a handful of compost on the soil around the plants. Vermicomposting makes worms happy; the worms make great compost that plants and flowers benefit from; and the gardener has less waste to deal with. It’s a win-win for all!
