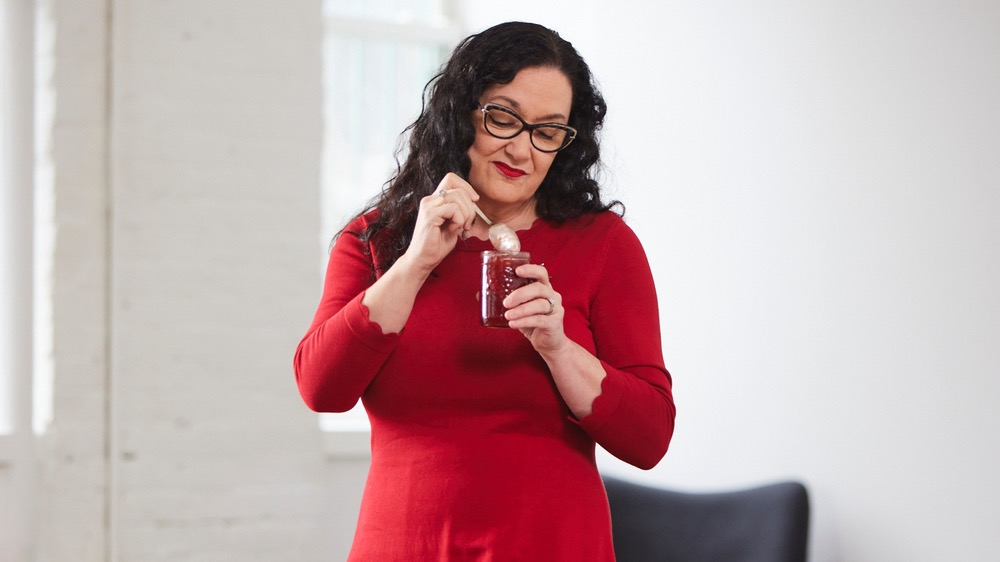
Lisa Swarbrick is the jam lady. Her jams and jellies have won ribbons at The Royal Agricultural Winter Fair for over two decades. She shares her advice on how to make your own jam, whether you’re entering it in the fair or feeding your family.
How to get started: “The first thing you should do is visit your local farmers’ market because that’s where you’ll find great fruit and connect with good people,” says Lisa. “It’s lots of fun to forage, too because finding fruit is an opportunity to connect with nature and, in my case, see the frogs, birds, partridges and wild ducks. If you are picking, it’s not about us going in and taking everything, it’s about sharing, so I’m always very careful never to strip a patch bare; I take what I need.”
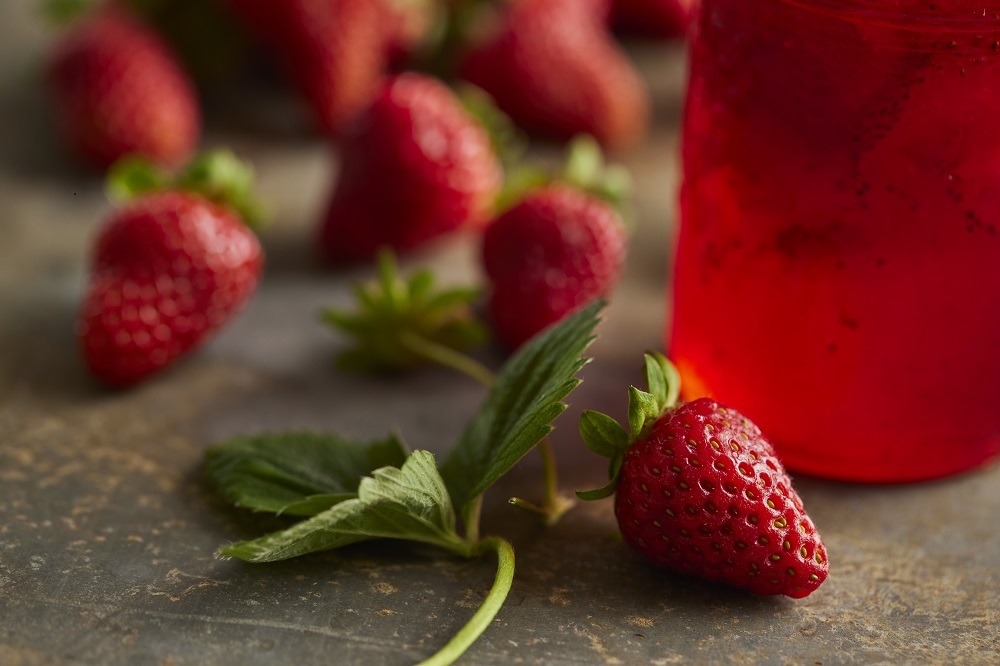
This homemade strawberry jam recipe makes 8 X 250 mL jars.
Ingredients
5 cups crushed strawberries
7 cups sugar
3 tbsp lemon juice (4 tbsp if the berries are very ripe; I like to use freshly reamed and strain the seeds)
½ tsp butter to help keep foaming down
1 pkg pectin (I use Bernard or Certo, and I like the powdered pectin better than liquid, but that’s just a personal choice
Method
- Simmer 8 250 ml jars on a rack in boiling water for 10 minutes and keep hot.
- Heat the lids and rings in hot water for 10 minutes and keep hot.
- Wash and crush the strawberries. The more uniform the crushing, the more uniform the jam and measure your sugar.
- Heat the strawberries, lemon juice, and butter in a large, deep pot and mix in 1 pkg of pectin vigorously until it dissolves.
- Bring this to a rolling boil then add the sugar, and stir continuously until it comes back to a rolling boil.
- Boil hard for 1 minute, and keep stirring.
- Remove the jam from the heat, stir, and skim any pink foam onto a side plate.
- Lift rack from hot water. Fill jars to 1/4 inch from the top to make a headspace and wipe the jar rims with a clean cloth to remove any jam.
- Tighten the rings, but not hard tight and return the jars to the rack and hot water. Your jars should be covered in hot water.
- Bring water to a solid boil for about 10 minutes.
- Remove your jars and set them on a wooden board on the counter and let them cool. You will likely
hear popping sounds as the seals set. This is a good thing. - After 4- 5 hours, check your jar seals (they should curve downward) and make sure your rings are
tight then label your jam jars as desired. Feel free to get decorative - Store in cupboard, pantry, or jam cupboard, stacking them if you wish.
- Make sure you eat them within one year.
To Read more about Lisa’s story go here for the Q&A