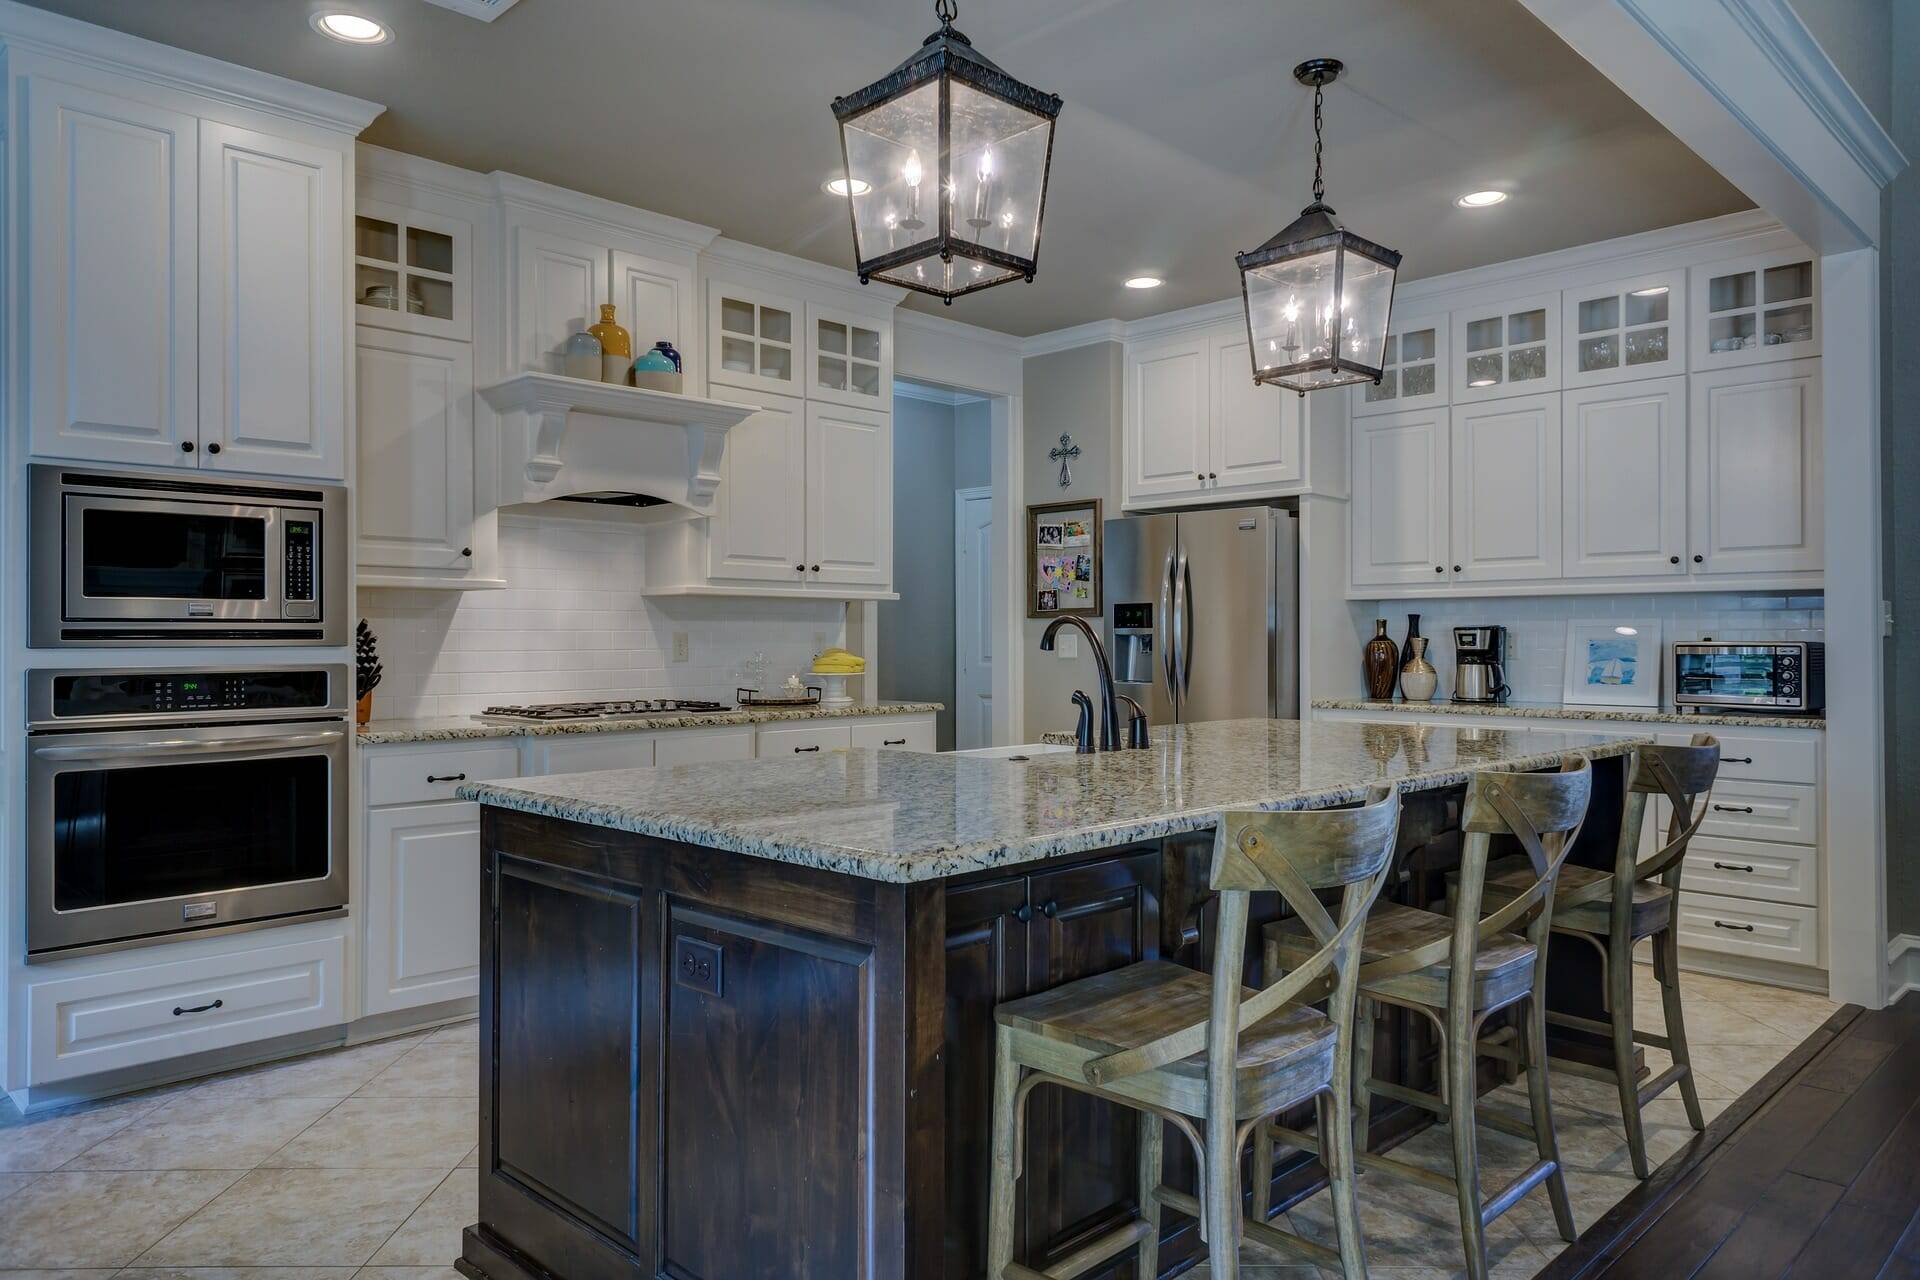
Old kitchen and bathroom cabinets are like bell-bottom pants: what looked good in 1977 doesn’t necessarily look so hot now. The good news is that if your cabinets show way too much wood, way too many dirt stains around knobs and drawer pulls, and way too many chips and scratches, there’s an economical alternative to total cabinet replacement. It’s also the ecologically responsible thing to do. Painting cabinet doors, drawer faces and face frames is a fast, simple, fun way to completely transform the look of your kitchen or bathroom for very little money. It’s also easy to get excellent results if you follow basics that aren’t immediately obvious.
Step 1: Determine what you’ve got
When people get tired of their cabinets, it’s usually not the entire cabinet that bugs them. The surfaces of concern are almost always just the doors and possibly the area around the doors, called face frames. It’s easy for you to turn a blind eye to the boxes that form the storage space, since you can’t see them except for when the doors are open. This is why your cabinet rehab job only needs to be about door and drawer appearance and possibly face frames. Start by determining the materials your cabinets are made of, because this affects how you paint them. Almost all cabinet doors, drawer faces and face frames are made with one of three materials. Here’s some info on each of them.
1. Solid wood coated in some kind of lacquer, urethane or varnish. These are usually the tackiest cabinets displaying way too much boring wood. Large expanses of yawn-worthy oak is typical. Real, solid wood doors and face frames are the easiest to paint and the easiest to spot. They have real wood texture showing through, if you take a close look, with some edges showing end grain and growth rings. Solid wood doors almost always have some kind of decorative profile routed into their edges.
Paint required: High-end latex primer followed by 100 percent acrylic latex paint.
2. Painted composite wood materials, such as medium density fibreboard (MDF). These would have been painted from new, but now they look like something left over from a garage sale. No wood-grain texture will be visible through the paint, and the underlying MDF will be soft enough to have succumbed to dents and dings. If you mistakenly identify painted composite as painted wood, it’s no big deal, since the paint and prep required for the two materials is almost the same.
Paint required: High-end latex primer followed by 100 percent acrylic latex paint.
3. Melamine-coated composite wood materials. Compared with varnished wood or painted MDF, it’s more difficult to create reliable painted results on melamine because it’s more challenging to get paint to stick, but it’s still possible. Just be sure to understand what you’ve got. Melamine cabinets are most commonly a solid colour, but melamine does come in fake wood-grain patterns, too. Don’t mistake wood-grain melamine for varnished real wood, as both materials require different paints and application methods. While solid wood doors almost always have curved, decorative profiles routed into the edges, wood-look melamine never does. The edges will be square, with more of that fake wood-grain material fastened along the sides of the doors and drawer faces. If some of this surface material is pulling off in places and you see what looks like sawdust glued together to form the underlying surface, then you’ve got melamine for sure. The good news is that melamine isn’t used often for doors. The inner surface of cabinet boxes is often made of melamine, and that’s one reason to avoid painting in there.
Paint required: High-bond spray paint (Krylon is an excellent option) or brush-on paint and primer made specifically for melamine. (Ordinary spray paint or brush-on latex paint scratches easily and comes off on melamine.)
Step 2: Get ready to paint
Cleanliness and microscopic roughness is what you need for paint to stick on your old cabinets. Begin by removing all doors and drawers and finding a workplace to prepare and paint them. This could be in the basement or garage if temperatures are above 10ºC (50°F). Read paint labels to verify the minimum application temperatures. You could also set up some sawhorses and a piece of plywood in your kitchen or house if you’re in the middle of renovation madness. Either way, remove door knobs and drawer pulls, and take the drawer faces off the drawer boxes if you can. Do you see screw heads inside the front end of the inside of drawers? Chances are the drawer faces will come off the boxes if you take these screws out, making the drawer faces easier to paint. No big deal if the drawer faces don’t come off.
Most cabinets begging for paint will be made of solid wood with a stained or sealed finish, and these are the easiest to prep for painting. Just lightly sand the surface using 150- or 180-grit sandpaper. You’ll save time using a one-quarter-sheet finishing sander for large flat areas, with a piece of handheld sandpaper for the edges. Tearing a standard sheet of sandpaper into quarters, then folding one quarter into thirds lengthwise gives the ideal size of piece for sanding by hand. The good news—and it’s very good—is that you don’t need to sand back to bare wood. Modern latex primers and paints can stick to old varnish or paint (even oil-based paint) quite well, as long as that varnish has been roughed up a bit with sandpaper. The only caution here is grease. If your doors or drawer faces have any detectable grease buildup (and it’s certainly possible), you’ll need to remove it all before sanding.
Some people recommend a solution of trisodium phosphate (TSP) for this job, but this is unnecessarily harsh in this application. A dish sponge and some mildly soapy water works well. Apply the water sparingly, then let the doors and drawers dry for a day before sanding. If you sand through the old finish on the corners a little, that’s no problem. Use a 3M rubbing pad or synthetic abrasive wool to rub down routed profiles or curved areas. Never use steel wool—the slightest residue will blossom into an ugly rust stain after the latex paint goes on.
The same sanding process applies to factory-painted doors and drawer faces, except that the underlying MDF is softer than wood and demands gentler handling. Prepping melamine surfaces for painting will vary depending on the specialty paint you’re using. Sanding may be part of the process, but proprietary cleaners and prep liquids may also be required.
Step 3: Selecting and applying paint
When it comes to painting cabinets, a duller sheen is better than a glossy one. That’s because flat finishes show surface defects much less prominently than glossy finishes. Even semiglosspaint is too shiny for most people’s liking. Once upon a time, flat paints were also weak and easily damaged by washing and abrasion. Not so now. Modern sheen-free or very low-sheen paints are surprisingly tough and scrubbable as long as you choose 100 percent acrylic formulations. Not all latex paint is 100 percent acrylic, so you need to read labels. While you’re at it, buy the most expensive latex primer made by the same manufacturer that makes your paint. Primer is the foundation of a durable cabinet paint job.
If you’re painting melamine doors, drawer faces and face frames, your choice of paints, sheens and colours will be more limited than latex. In most cases, you’ll also need to get a proprietary primer that goes with the paint. There’s a bit of rocket science involved here. If the paint you need isn’t latex, do the work outside on a calm day or in a garage with the door open.
When it comes time to brush on some paint, there three things to keep in mind:
1. Use a brush that matches the chemistry of paint you’re using. Synthetic bristles such as nylon or polyester are required for latex paint. Your melamine paint probably isn’t water based, so natural bristles will work best. Today’s most ecologically responsible brushes have replaceable bristles, so you never have to throw out the handle.
2. Always apply thin coats horizontally. Having your doors and drawer faces sitting flat on a bench prevents runs and drips from forming. Paint the upper face first, let it dry to the touch, then flip the doors over to paint the back face. Two coats of paint after the primer are all you need.
3. Dry paint isn’t necessarily tough paint. Many paints can feel dry to the touch, but they’re still more susceptible to damage than they look. It can take a couple of weeks or even a month for paint to reach its full strength.
Chalk Paint and Milk Paint for Cabinets
There’s something beautiful about the low sheen and pastel colours of chalk paint and milk paint that say “antique” loud and clear. And while these can be used successfully on wood or previously painted wood composites, they’re not as tough and damage resistant as latex. Sounds like a problem, but not necessarily. If you’re going for a distressed look with intentional dents and areas of wear, then traditional paints are just the thing. A little judicious rubbing with synthetic wool or a 3M rubbing pad gives a beautiful wear effect.
Just be careful about one thing: it’s all the rage for people to blog about applying wax over chalk or milk paint for protection, but there are three problems with this on cabinets. First, applying wax on so much area is a big, boring job. It takes forever. Second, wax doesn’t stand up well in the tough conditions of a kitchen. It’ll look ratty in no time. And third, all liquid finishes hate wax. If you ever need to paint your cabinets again, even the slightest bit of wax residue will cause the new paint to dimple, misbehave and offer poor adhesion. It can be a nightmare.
Latex paint needs no surface sealer, but chalk and milk paint are more susceptible to staining and damage. One coat of Minwax’s satin Wipe-On Poly gives chalk paint the extra chutzpah to endure. Just complete a test area first somewhere else. Wipe-On Poly may impart a very slight yellowish hue on some light colours of paint, but not much. Be sure to mix a bonding agent when applying milk paint over an existing finish, even if you’ve roughened up the surface with sand paper.
Painting cabinets is a triple-win deal: you save money, you get a great new look for your kitchen or bathroom, and you save resources and energy in a big way. What could be better than that?
Steve Maxwell and his wife Mary live on a 90-acre modern homestead on Manitoulin Island, Ontario in a stone house they built with local materials beginning in 1985. Steve is Canada’s longest-running home improvement and how-to columnist and editor of Home and Property. He divides his time working on the land, building things large and small, and creating articles and how-to videos that teach sustainable, self-reliant, hands-on living skills.
