Growing up on a pumpkin farm meant that I didn’t realize you could buy pumpkin puree at the store until I was an adult. These days, I can understand the convenience of buying the canned version, but I urge everyone I meet to try making their own. This pumpkin cheesecake is one of my very favourite recipes of all time, as it combines my deep love for pumpkin with a homemade gingersnap crust and a beautiful toasted meringue top. Prepare a few days ahead of time (minus the meringue) if you’d like, and torch the meringue at the table to really impress your friends!
Yield: 1 (8-inch [20-cm]) cheesecake
GINGERSNAP CRUST
- 2 cups (336 g) crushed homemade or store-bought gingersnap cookies
- 6 tbsp (84 g) unsalted butter
- ⅛ tsp salt
CHEESECAKE
- 2 cups (464 g) cream cheese (2 packages), room temperature
- ½ cup (100 g) granulated sugar
- 1 cup (245 g) Pumpkin Puree (page 205)
- 1 tsp vanilla extract
- 2 tbsp (16 g) all-purpose flour
- ½ tsp ground cinnamon
- ½ tsp ground allspice
- 2 large eggs, room temperature
- 1 large egg yolk, room temperature (reserve white to use for meringue)
MERINGUE
- ½ cup (120 ml) egg whites (about 4 eggs)
- 1 cup (200 g) granulated sugar
- 1 tsp vanilla extract
- Preheat the oven to 350°F (180°C).
To make the crust, place the gingersnap cookies into a food processor or blender and blend into fine crumbs. I did this ½ cup (84 g) at a time. Repeat until you have 2 cups (336 g) of fine crumbs.
In a medium bowl, stir together the gingersnap crumbs, butter and salt. Press firmly into the bottom of an 8-inch (20-cm) springform pan. Bake for 8 to 10 minutes, or until fragrant. Set aside to cool.
To make the cheesecake, preheat the oven to 260°F (130°C). Cooking a cheesecake at a low temperature decreases the chance of it cracking, and I’ve never had a cracked cake using this method! In the bowl of a stand mixer fitted with the paddle attachment, beat together the cream cheese and sugar on low for 1 to 2 minutes, until completely smooth. Make sure the cream cheese is at room temperature or the batter will have small lumps in it. Add the pumpkin puree, vanilla, flour, cinnamon and allspice and beat on low for 2 minutes, until smooth. Use a spatula to scrape down the sides of the bowl and gently run it through the batter to press some of the air bubbles out. Add the eggs one at a time, mixing until barely mixed, and then add the yolk and beat on low until just incorporated. Use a spatula to scrape down the sides and press out any air bubbles. Try not to overmix once the eggs are added.
Pour the batter into the cooled crust and slam the entire pan down onto the counter firmly several times. You should see a few air bubbles pop on the surface. We don’t want these bubbles rising through the batter while it bakes, as they can create a bumpy surface.
Bake for 55 minutes, and then turn off the oven, crack the door and let the cheesecake rest in the oven for 15 to 20 minutes. Remove from the oven, run a thin knife around the edge and leave in the pan for at least 1 hour. Carefully remove the spring form pan wall piece and let the cheesecake come to room temperature before placing into the fridge in an airtight container. Allow to chill for several hours or overnight. This cake is great to make a day or two before you need it.
To make the meringue topping, ensure that a small saucepan and the mixing bowl of the stand mixer are freshly washed and dried and free from any grease. In the saucepan, whisk together the egg whites and sugar. Assemble a double boiler by bringing a large pot of water containing a couple inches of water to a boil, and place the saucepan with the egg whites and sugar on top. Make sure the bottom of the saucepan doesn’t touch the water. Stir occasionally and heat until the mixture reaches 160°F (71°C). Keep cooking at that temperature for a couple of minutes. Since we aren’t cooking the meringue after it’s made, this process is ensuring the eggs are safe to eat. Remove from the heat and place the mixture into the bowl of a stand mixer fitted with the whisk attachment. Beat on medium-low for 4 minutes while the egg mixture cools, and then increase the speed to high for 4 minutes. Beat until it forms a thick and glossy meringue. Mix in the vanilla extract. Use immediately.
The cheesecake should be well chilled before serving and the meringue assembled directly before serving. Pile the cheesecake high with meringue and use a kitchen torch to toast the meringue. If you don’t have a kitchen torch, you can broil the cake for a few minutes, but keep an eye on it the entire time! Alternatively, serve with whipped cream. Store leftovers in an airtight container for 2 to 3 days in the fridge or for 3 months in the freezer. The meringue will get a bit soggy after the first day.
Note: If using homemade gingersnaps that are on the soft side, chop into fine pieces and spread onto a parchment-lined baking sheet. Bake until dry and crunchy, stirring every few minutes. Allow to cool slightly and then blend into fine crumbs.
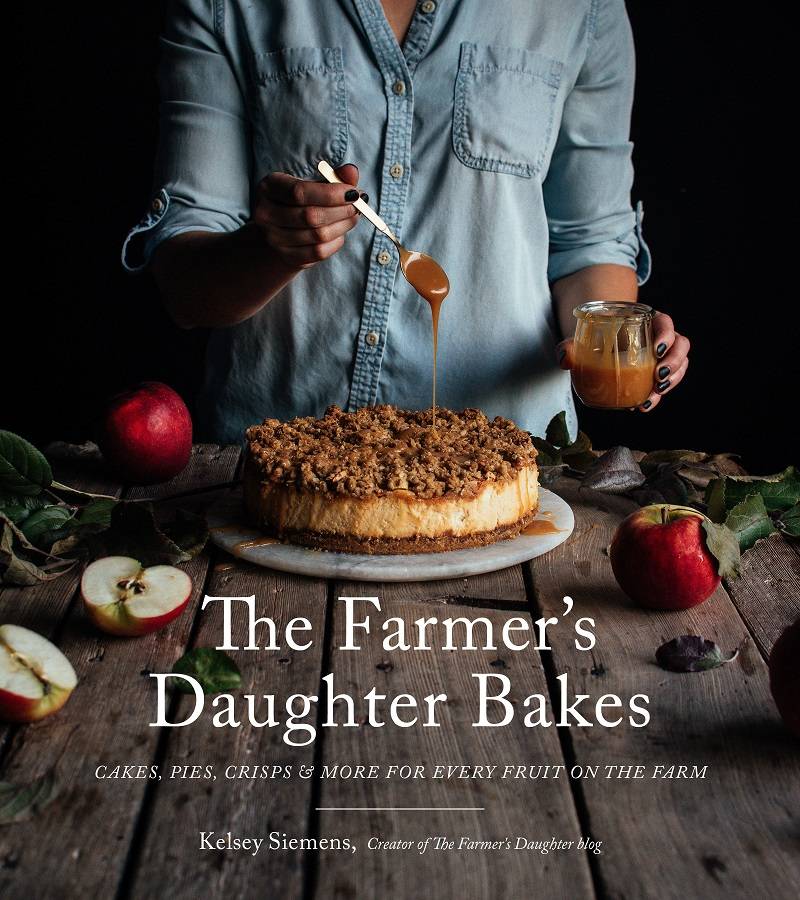
Kelsey is the founder of the popular blog The Farmer’s Daughter and is a full-time apple farmer on Willow View Farms in Fraser Valley, BC.
Her cookbook, The Farmer’s Daughter Bakes: Cakes, Pies, Crisps and More for Every Fruit on the Farm (Page Street Publishing, $34.50), invites readers to cozy up in her farmhouse kitchen and bake up an irresistible array of sweets inspired by her family’s beautiful farm in B.C. and the bounty of each season’s harvest.
HELLO, I'M KELSEY! AND I'M SO GLAD YOU'RE HERE.
I grew up on a beautiful farm in the idyllic Fraser Valley in BC, Canada, and work there alongside my parents.
Apples, plums, pears, pumpkins, squash, potatoes, corn, garlic, and more.
I come from a long line of bakers and farmers, and think that there is nothing as satisfying as harvesting your own produce. It's been hugely influential in my life and how I view food, and I love using fresh, local produce when I can. From kneading bread, to braiding pie dough, baking is therapy for me...and has given my scientific brain an outlet for creativity. Baking is a science after all.
Food is my love language....so stay a while, and let me love you.
I have a BSc. from UBC in Geographical Biogeosciences (say that 5x fast), specializing in geomorphology and ecology, and have always had a love for growing things, rocks, meteorites, volcanoes, etc. Now I get to play in the dirt and get paid for it...so that's a win win.
Favourite things:
salted caramel anything, sour cream doughnuts, pumpkins, popcorn, cats, stormy nights, Scotland, fairytales, and foggy Fall mornings.
http://www.the-farmersdaughter.com/

