If you live in a vintage home, chances are good that you have a love-hate relationship with the place. Many older houses have a charm that makes you feel good just being inside them. Newer architecture rarely delivers the same aesthetic experience. Trouble is, older homes are also quite likely to make your stomach churn whenever you see a new heating bill in your mailbox. Cold toes and the extensive use of sweaters may also be your regular wintertime experience as an owner of an older place.
The good news is that there are effective strategies for warming up your old, cold house while also greatly reducing heating bills. The challenge is that you often need to work differently than with a newer home built in modern ways. You’ll probably never get your old place to be as economical as a new house built to today’s highest standards, but you can still do a lot to keep heating costs down and body temperatures up.
Strategy No. 1: Maximize attic insulation
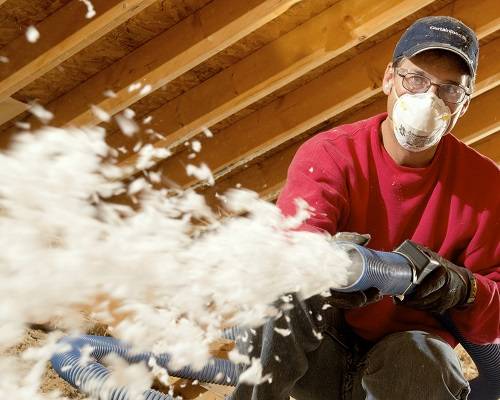
This is simple and not particularly unique to older homes, but it’s also the easiest and least expensive upgrade you can do. Strictly speaking, there’s no practical upper limit for attic insulation depth. For most areas of Canada, a minimum of about 50 cm (20 inches) of batts or loose-fill insulation make sense. If you can fit 65 cm (25 inches) or even 75 cm (30 inches) of depth in your roof, that’s even better. Besides inadequate attic insulation, many older homes also need more attic ventilation.
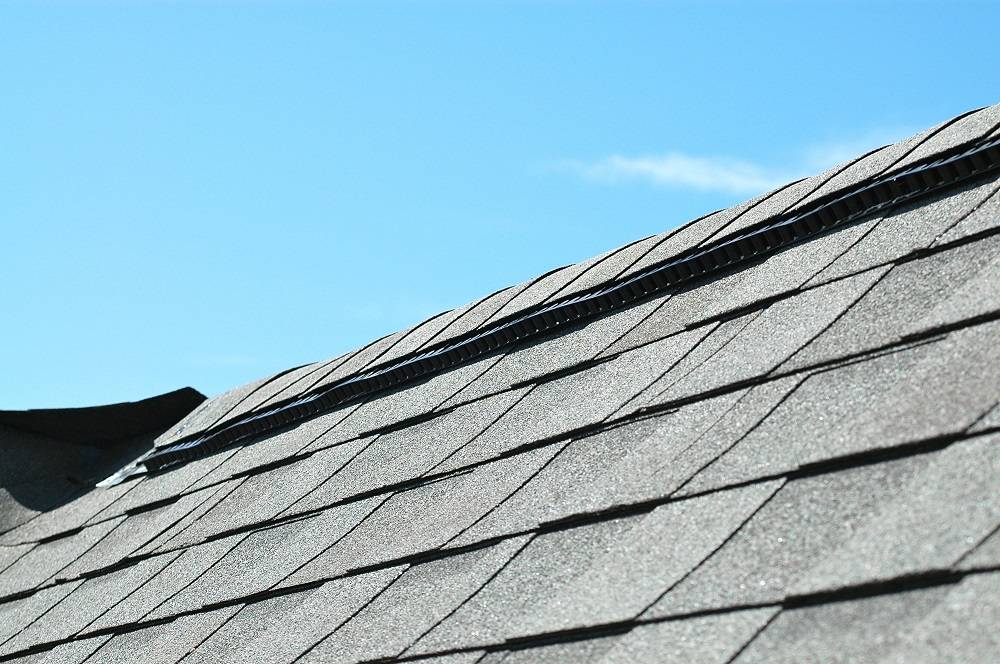
Ridge vents are more effective than the mushroom-style vents you see on rooftops, and they look much better, especially on older homes. It’s also relatively easy to retrofit ridge vents to an existing roof, even when you’re not installing new shingles.
Strategy No. 2: Boost wall insulation
It’s technically challenging to increase wall insulation in older homes, but the results are usually worth it. That’s because most walls were not insulated to any significant level in the first place. Many walls are hollow, while others are simply stuffed with wood shavings, rags or old newspapers. When it comes to increasing wall insulation, you’ve got three options.
1. Boost exterior
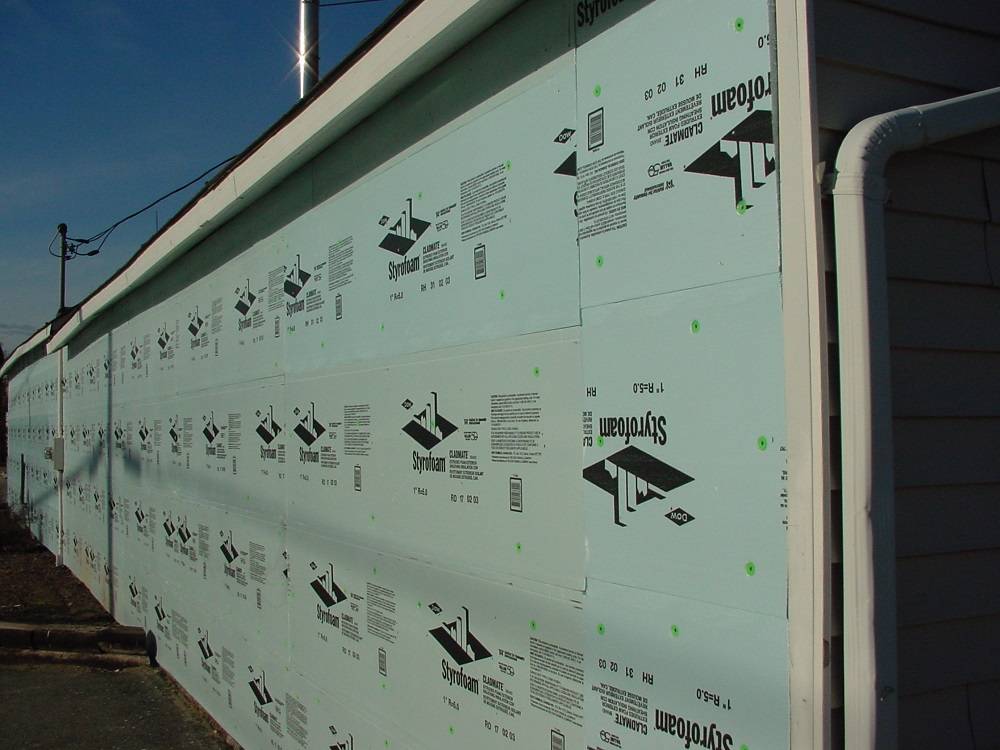
R values This makes the most sense when you’re already planning to replace exterior siding. The old siding comes off, rigid insulation sheets go on the wall sheathing, then new siding goes over that.
Pros: Very effective insulation boost when using 5 cm (2 inch) thick insulation board.
Cons: Only practical when you’re replacing siding. Also, window and door frames need to be extended in a weatherproof way.
2. Boost interior
R values This makes sense if you’ve got ugly interior wall surfaces that you want to improve with new drywall. Rigid insulation sheets go on the interior faces of exterior walls, then new drywall goes on top. Longer-than-usual screws go through the new drywall, through the foam, through the old finished wall surface, then into the underlying wood frame.
Pros: Very effective insulation boost. No need to create weatherproof door and window frame extensions.
Cons: Only practical when you’re renovating interior walls. Reduces room size slightly and requires extension of interior door and window jambs.
3. Boost wall cavity
R values This approach is minimally disruptive and can be highly effective, but only if your wall cavities are truly hollow. The best approach uses slow-rise, two-part polyurethane spray foam injected into wall cavities. Injection from inside is easier and simpler, requiring only small patches in the drywall to cover injection holes. Foam can be injected from the outside, too. Foam gives off heat as it cures, allowing areas of foam coverage to be easily seen with an infrared camera.
Pros: Very significant boost in wall R values with no significant disruption of interior or exterior wall surfaces.
Cons: Only practical with hollow wall cavities. Use of infrared camera needed to verify presence of foam in all walls.
Strategy No. 3: Warm the floors
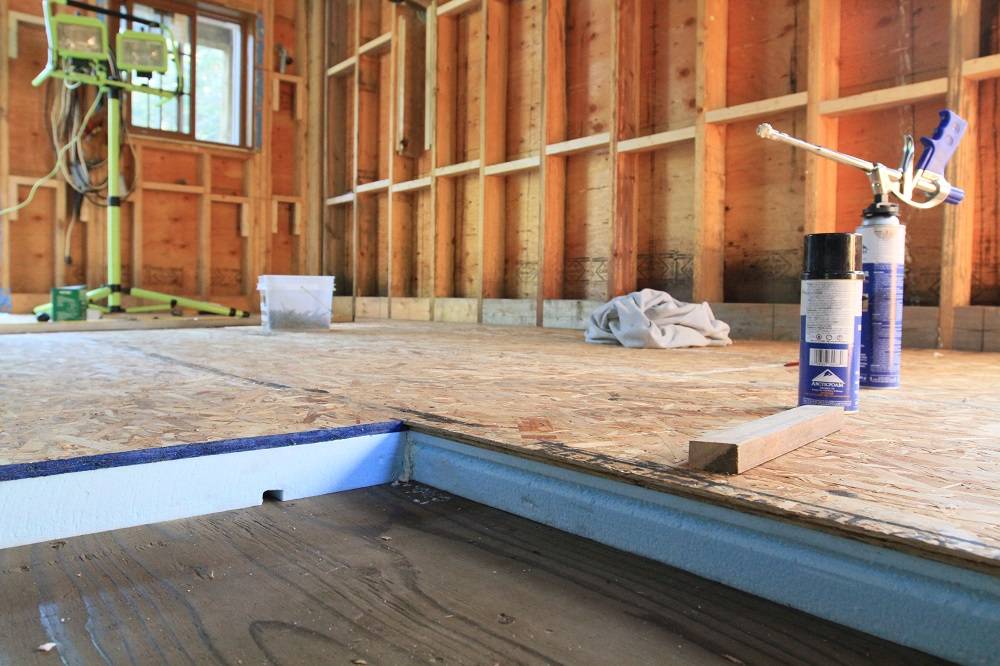
Cold wintertime floors (and cold feet) are one of the biggest drawbacks of older homes, and the strategy for warming them up depends on the situation you’ve got. Are your floors cold because they exist over an unheated crawl space? Don’t bother trying to heat the space. Crawl spaces are difficult to insulate and seal well, so they can suck up huge amounts of heat while offering only minimal benefit for your feet. Better to insulate the floor from the underside, but don’t use batt insulation stuffed between the joists. This is a common approach that’s destined for trouble. Batts don’t add much warmth to floors, and they provide excellent conditions for rodent infestations. It is far better to use spray foam insulation on the underside of floors because it both seals and insulates. But even with spray foam in place, floors won’t actually get warm to the touch. For that, you’ll need some kind of in-floor heating. Electric in-floor systems are easiest to install and don’t consume much power if used only to warm the floors. Are your cold floors over a basement? You can follow the same procedure as when working over a crawl space, or you can insulate basement walls and heat the basement like any other living space. Just be sure that the basement is 100 percent dry, 100 percent of the time. Old homes are more likely to have basements that leak. Insulating the walls of a wet basement will almost inevitably lead to mould growth and poor indoor air quality throughout your home.
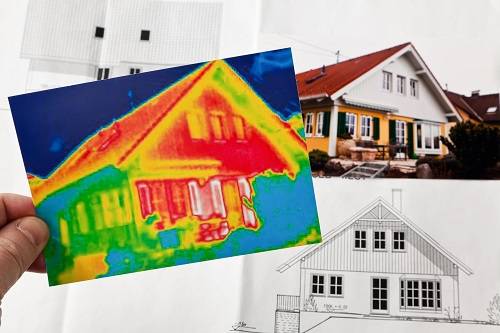
Infrared Cameras Are Now Cheap
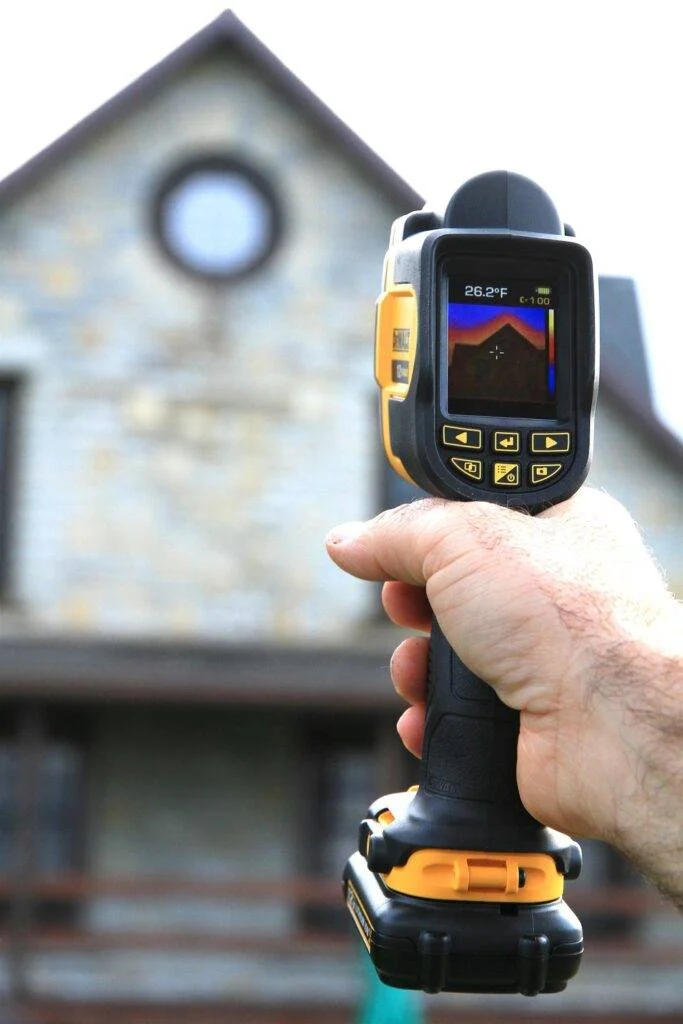
Twenty years ago, the magic bullet in energy-efficiency tools was the infrared camera. It let you see areas of energy loss from the outside of a building, as well as the exact spot where this needed to be remedied. Trouble was, even the cheapest models cost a couple of thousand dollars back then. These days, you can get decent infrared cameras for much less money and there are enough of them around that you can probably borrow one. They let you see where heat is escaping from your old house.
Strategy No. 4: Optimize energy choices
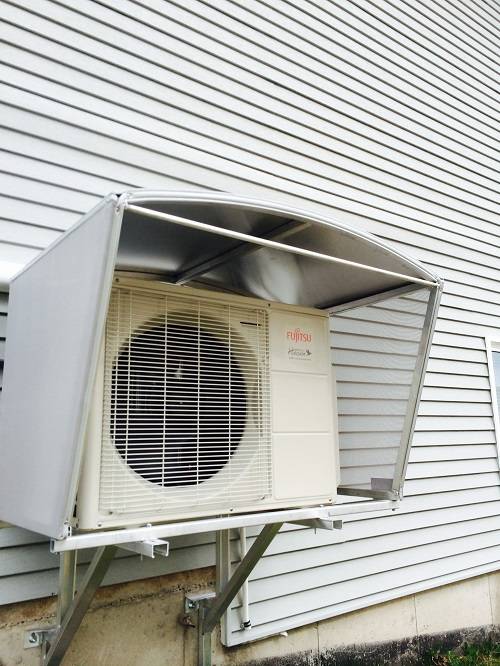
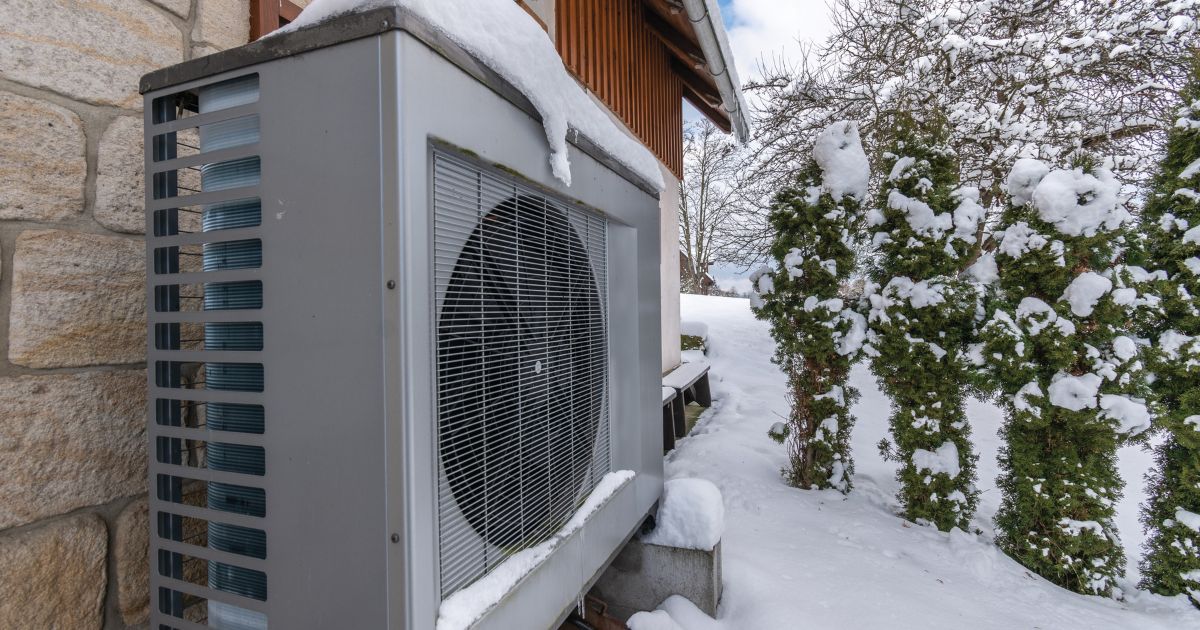
The cost of heat energy varies wildly depending on what form you buy it and how it’s used. The cost of a million BTUs of electricity used to power a baseboard heater in Ontario, for instance, is many times the cost of the same amount of energy in the form of natural gas burned in a high-efficiency furnace. In regions where natural gas isn’t available, propane is about 30 percent cheaper than the same amount of electricity used directly for heating. But propane is still twice as expensive as firewood, even when you buy the wood cut, split and ready to burn. One of the main things to remember as you choose the energy sources your home will use is the inherent inefficiency of grid electricity for heating. We certainly need electricity for lots of things, but you should never use it for the bulk of your heating needs. Go ahead and use it to warm floors here and there, or use it to operate a heat pump. Since the electricity used by a heat pump is employed to harvest heat from the air, the earth or a nearby body of water, energy efficiency shoots right up. At current market prices, only natural gas offers a cheaper way to heat than an electric heat pump. It’s even cheaper than purchased firewood. Energy costs aren’t going to get significantly lower, and that’s a big deal if you own one of the many beautiful older homes in this country. Understand the options you’ve got for boosting energy efficiency, and energy bills won’t be something you fear in the future.
Steve Maxwell and his wife Mary live on a 90-acre modern homestead on Manitoulin Island, Ontario in a stone house they built with local materials beginning in 1985. Steve is Canada’s longest-running home improvement and how-to columnist and editor of Home and Property. He divides his time working on the land, building things large and small, and creating articles and how-to videos that teach sustainable, self-reliant, hands-on living skills.


